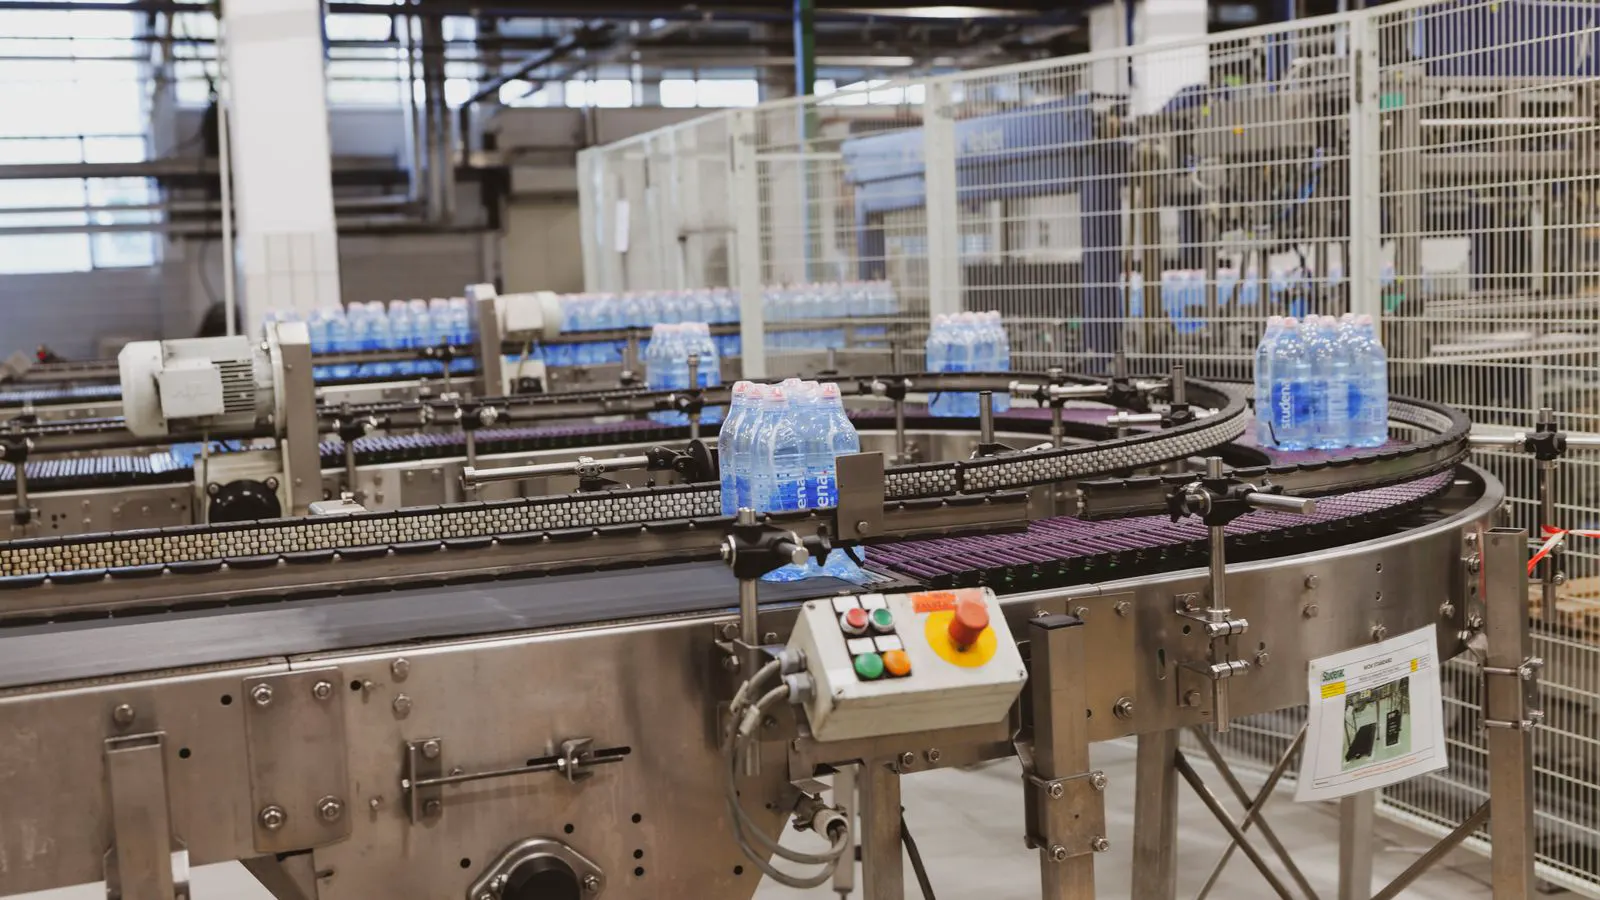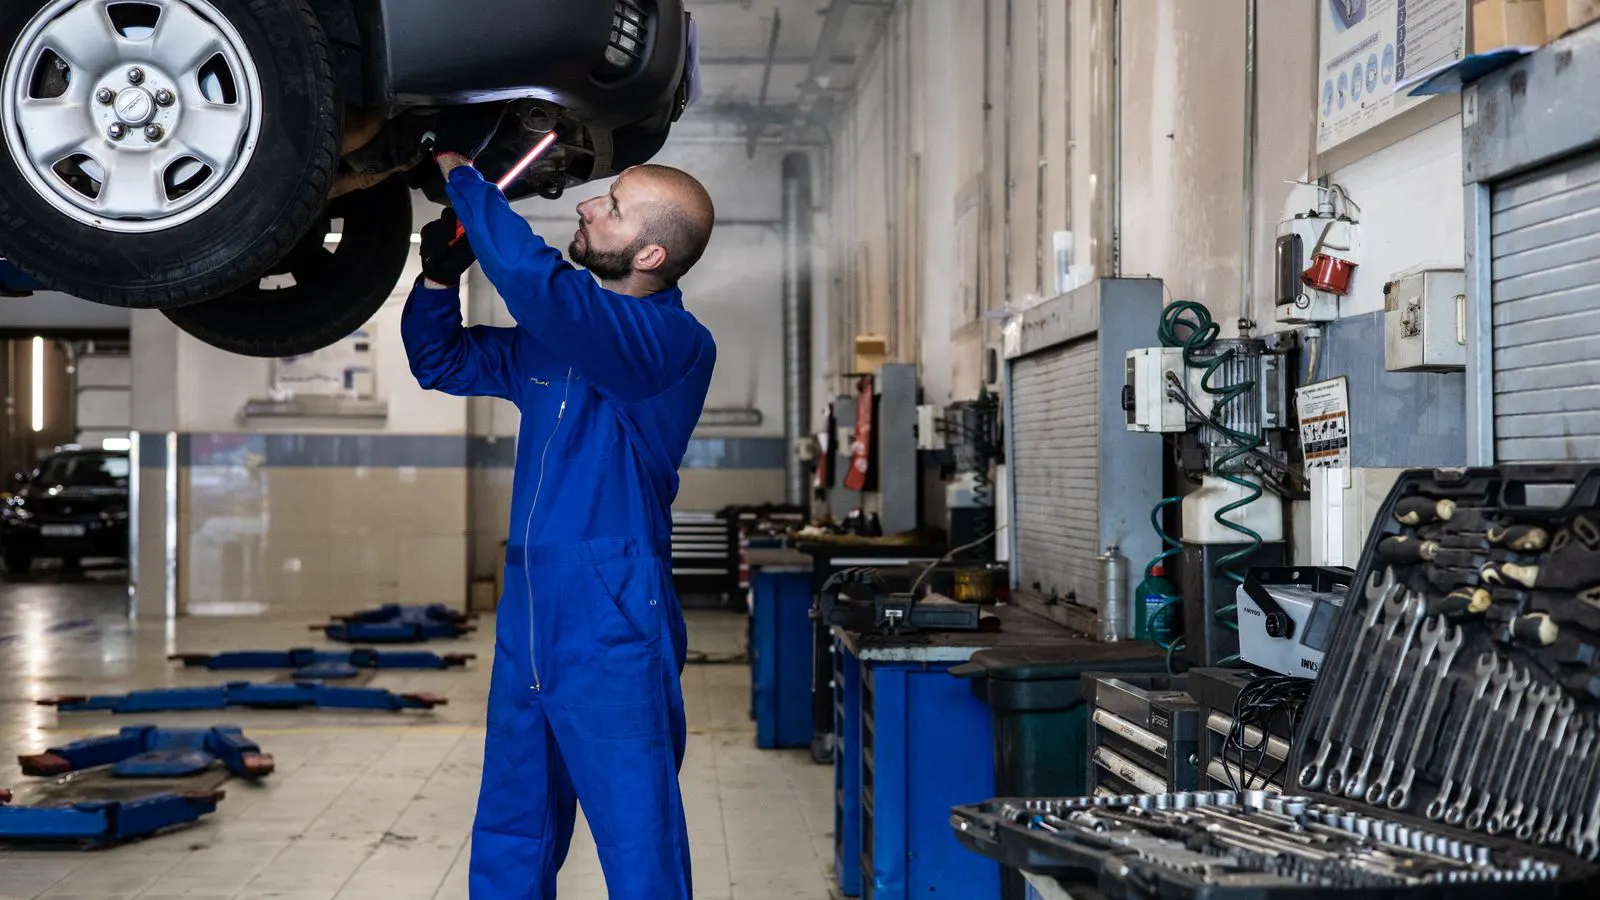
A conveyor inspection checklist provides a structured approach to visual and physical checks. It helps maintenance teams identify belt wear, bearing damage, and safety risks before failures occur, supporting consistent preventive maintenance routines.
- A structured inspection checklist standardizes how teams identify wear, damage, and safety hazards during routine physical checks.
- Visual inspection of belts, rollers, and bearings catches early signs of failure that prevent unplanned downtime.
- Documenting findings and linking them to preventive maintenance schedules helps buyers and engineers manage long-term asset health.
Why a Written Checklist Beats Memory
A walkdown is not a casual stroll along the line. It is a structured visual inspection with specific targets. Without a written conveyor inspection checklist, two technicians can walk the same line and miss the same things. One may focus on the belt surface while another watches the drive. The result is inconsistent data and slow reaction to small faults.
The checklist acts as a control tool. It forces the team to look at the same points, in the same order, every time. It also creates a record that maintenance managers can compare over weeks. When a belt starts to fraying or a bearing runs hot, the written log shows when the first sign appeared.
This matters for sourcing decisions too. If a site consistently finds misaligned rollers every quarter, the team may need a better alignment tool or a revised preventive maintenance interval. The checklist feeds that decision.
Core Items for Every Walkdown
The table below lists the key areas a technician should cover during a standard visual inspection. Each item targets a common failure mode.
| Area | What to Look For | Typical Failure Sign |
|---|---|---|
| Belt surface | Cuts, fraying, glazing, tracking drift | A belt that sits off-center or has a visible nick on the top run |
| Belt edges | Chafing, delamination, hardening | A rough, jagged edge that catches on rollers |
| Rollers and idlers | Flat spots, corrosion, seized bearings | A roller that does not spin freely when pushed |
| Drive unit | Pulley wear, guard condition, coupling | A pulley face with grooves or a loose guard |
| Bearings and housings | Heat, dust, oil leaks, corrosion | A housing that feels hotter than the ambient area |
| Safety devices | E-stops, pull cords, light curtains | A blocked sensor or a guard that does not close fully |
| Structural frame | Weld cracks, loose bolts, corrosion | A bracket that shifts when a load is applied |
A technician does not need to fix every item during the walkdown. The job is to identify, record, and classify. A small nick on the belt may need a repair kit. A seized idler may need replacement before the next shift. The checklist separates immediate action from scheduled work.
Belt and Tracking: The First Stop
Belt problems dominate walkdown findings. The belt is the moving surface that carries the load, so it shows wear first. Start at the head pulley and work down the line. Watch the tracking. A belt that drifts toward one side is a sign of misalignment, uneven load, or a damaged edge.
Look for glazing. This is a shiny, hard layer on the belt surface that forms when friction and heat build up. Glazed belts lose grip on the pulley. They slip. The drive works harder. The belt may start to walk in and out of track. A simple visual check and a light touch test can reveal this.
Check the belt edges. Delamination is a common failure. The outer layer separates from the core. The edge lifts and catches on idlers. Once that happens, the belt can tear under load. A technician should note any edge damage and mark it for repair or replacement.
Bearings and Heat: The Silent Failure
Bearings fail quietly. They do not announce themselves until the damage is serious. During a walkdown, use a non-contact thermometer or a careful hand test to check bearing housings. Compare each bearing to its neighbors. A housing that feels warmer than the others is a warning.
Do not rely on temperature alone. Look for dust. A dirty bearing housing often indicates a failed seal. Dust absorbs moisture and accelerates wear. Look for oil. A small amount of oil can be normal, depending on the lubricant type. A large leak means the seal has failed. The bearing will lose lubrication and overheat.
A common mistake is ignoring low-speed rollers. These idlers spin slowly and carry constant load. They fail faster than high-speed drive bearings if they are not maintained. A technician should spin each idler by hand where safe. A stiff or gritty feel means the bearing is degrading.
Safety Devices: The Non-Negotiable Part
A conveyor inspection checklist is not just about equipment health. It is also about protecting people. Safety devices are the last line of defense when a belt fails, a load shifts, or a worker enters the line.
Check every emergency stop. Press the button and confirm the line stops. Test the pull cord if the line uses one. A cord that does not release is a hazard. Look at light curtains and safety mats. A blocked sensor may allow a worker to stand in a pinch point. A missing guard on a pinch point or nip point is a direct risk.
Do not bypass safety devices for convenience. A line that runs without a guard is a line that will eventually hurt someone. Record every safety finding as an immediate action. Do not wait for the next planned maintenance window.
Documentation and Preventive Maintenance
A walkdown without documentation is a lost opportunity. The technician should record findings in a format that the maintenance team can use. A simple log with date, location, part number, and finding is enough. Add a photo when the issue is visible. Photos make it easier to track wear over time.
Link the checklist to preventive maintenance. If a belt edge is fraying, the next preventive maintenance visit should include a repair kit. If a bearing is running warm, the next visit should include a lubrication check and a seal inspection. The checklist becomes the trigger for future work.
This is where sourcing decisions get clearer. If a site keeps buying the same type of belt and it fails at the same edge every quarter, the material may not fit the load. If a site keeps replacing bearings because of dust, the seal design may be wrong. The written record shows the pattern.
A Worked Example in Plain Words
A technician walks a grain conveyor at a warehouse. The line runs 40 meters. The belt is a standard textile belt. The walkdown starts at the head pulley. The belt is tracking well. The top surface shows some glazing near the drive. The technician marks this for a cleaning and tracking adjustment.
Moving down the line, the technician finds two idlers with flat spots. The idler housings feel warm. One housing has dust around the seal. The technician records this as a bearing concern. The next preventive maintenance visit will include a lubrication check and a seal replacement for that idler.
At the tail pulley, the belt edge is lifting. The technician notes a small cut near the edge. The belt is not torn, but the damage is visible. The checklist says to mark this as a repair item. The team schedules a repair kit for the next shift.
The walkdown ends. The technician submits the log. The maintenance manager sees three items: glazing, a bearing concern, and a belt edge cut. Each item gets a priority. The glazing is low priority. The bearing concern is medium priority. The belt edge cut is high priority. The checklist turned a walk into a work plan.
Common Mistakes to Avoid
Teams often skip the walkdown when the line is running well. The instinct is that a quiet line is a healthy line. That is wrong. A quiet line can hide a bearing that is about to seize or a belt that is about to tear. The walkdown is the only way to catch these before they cause downtime.
Another mistake is using the same checklist for every line without adjustment. A food line and a chemical line need different checks. A chemical line may need more attention to corrosion and seal integrity. A food line may need more attention to hygiene and belt surface condition. The core items stay the same, but the focus changes.
A third mistake is not closing the loop. The technician finds a problem, writes it down, and moves on. Nobody acts. The problem grows. The checklist is useless if it does not feed into work orders and preventive maintenance schedules. The value is in the follow-up.
How the Checklist Supports Sourcing
A well-maintained inspection history is a buying document. When a site is replacing a conveyor or upgrading a belt, the old checklist logs show what actually failed and when. The new belt supplier can see the failure patterns. The bearing supplier can see the contamination issues. The engineer can see the alignment problems.
This changes the sourcing conversation. Instead of guessing, the team talks about known issues. The belt selection may change material. The bearing selection may change seal type. The idler selection may change diameter or load rating. The checklist provides the evidence.
A buyer who reviews inspection logs before a purchase decision is making a better decision. The logs reduce risk. They align the new equipment with the actual operating conditions. They prevent the same failure from repeating.
Frequently asked questions
How often should a conveyor walkdown happen?
Frequency depends on the line. Heavy-duty lines may need a walkdown every shift. Lighter lines may need a weekly or monthly check. The checklist should match the operating profile.
Can a new technician use the checklist alone?
Yes, if the checklist is specific and the technician knows the line. Pair the checklist with a short orientation. The technician should know where the safety devices are and what normal looks like.
What is the best format for recording findings?
A simple digital form or paper log with date, location, part, and finding works well. Add a photo when possible. Keep the format consistent so the maintenance team can read it quickly.
How do I know if a belt needs replacement?
Look for cuts, delamination, glazing, and edge damage. A belt with multiple edge failures or a core that is exposed is ready for replacement. The checklist should track these signs over time.
What is the role of preventive maintenance in a walkdown?
The walkdown identifies issues that need scheduled work. The preventive maintenance team acts on those findings. The checklist is the bridge between observation and action.